
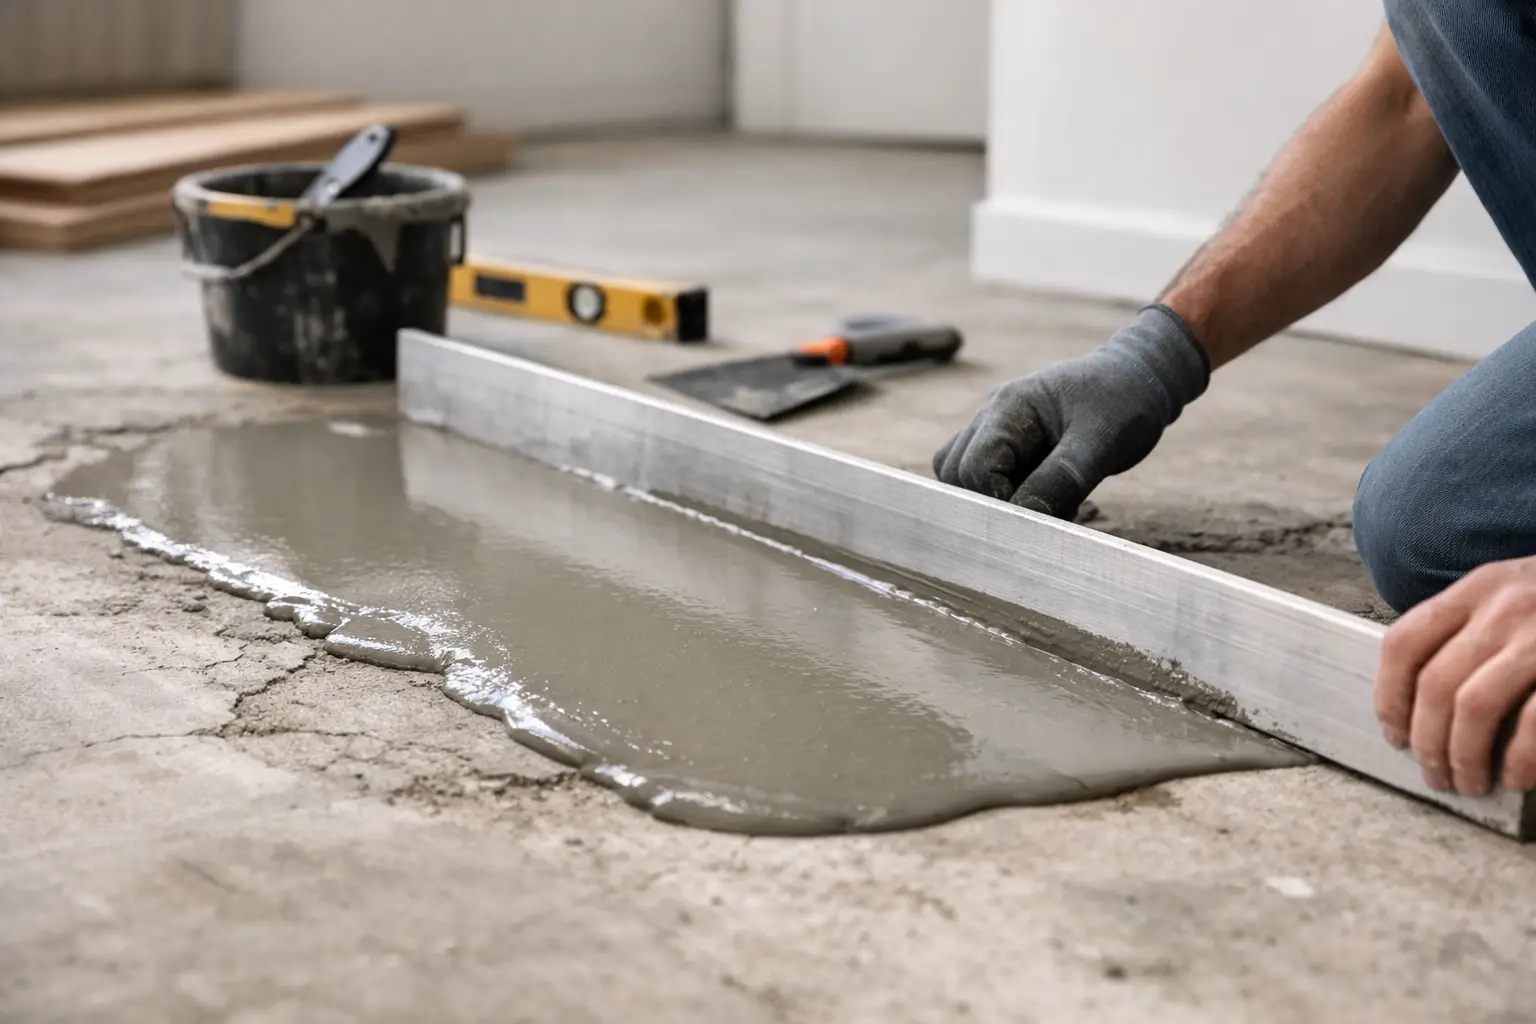
A new tile floor can look perfect on installation day and still crack months later if the surface below it was never properly prepared. Luxury vinyl can telegraph low spots. Laminate can separate at the joints. Even hardwood can flex and wear unevenly. Knowing how to level uneven subfloor starts with one rule our crew takes seriously: do not cover a problem that should be repaired.
For Tampa Bay homes, the cause may be an aging wood-framed floor, a concrete slab with old adhesive, settlement, moisture, or a previous flooring installation that left behind patchwork repairs. The right fix depends on what the floor is made of, how far it is out of plane, and which finished material is going on top.
Level vs. Flat: Know What Your Floor Needs
Homeowners often use “level” to mean perfectly horizontal. In flooring, a surface does not always need to be level from one side of the room to the other. It does need to be flat, stable, clean, and within the tolerance required by the flooring manufacturer.
A bathroom floor may intentionally slope slightly toward a drain. An older home may have a gradual, stable slope that is not visible once flooring is installed. What creates problems are abrupt dips, humps, ridges, loose areas, and transitions that force the finished flooring to bend.
Discover Seven Golden Floors: Tampa Bays Best in Flooring and Remodeling!.
Visit us at The Noble Floors Wholesale – 6131 Anderson Rd, Tampa, FL, 33634, and explore our high-quality flooring and remodeling products. Contact us today and transform your space!
Talk to a salespersonTile and natural stone are especially unforgiving. Large-format porcelain, marble, and travertine need a very flat substrate to avoid lippage, hollow spots, and cracked grout. Vinyl plank and waterproof laminate also need a smooth surface because their locking systems can fail when they bridge a low area. Hardwood needs a sound, even base so boards do not move underfoot.
How to Check an Uneven Subfloor
Before choosing a leveling product, find out exactly where the problem is and how severe it is. Remove loose flooring, carpet pad, nails, staples, adhesive residue, and debris first. A straightedge placed over dirt or old glue will give a false reading.
Use a long straightedge, level, or laser level across the room. Move it in several directions, especially across doorways, along walls, and through the center of the space. Mark high spots and low spots directly on the subfloor with a pencil, chalk, or painter’s tape.
For a more precise check, slide a measuring tape or feeler gauge under a 6-foot or 10-foot straightedge. Flooring manufacturers publish flatness requirements for their products, and those requirements should guide the prep work. The larger the tile or plank, the more exact the preparation needs to be.
Also walk the floor slowly. A squeak, bounce, soft spot, or shifting area is not simply a leveling issue. It may point to loose plywood, water damage, undersized framing, or deteriorated joists. Pouring leveling compound over a moving floor does not make it structurally sound.
Find the Cause Before You Start Leveling
The best repair is based on the cause, not just the visible dip. On concrete slabs, check for cracks, moisture, old thinset, paint, sealers, and adhesive. A slab can have a low spot because of its original finish, but it can also be affected by moisture or movement. Cracks should be evaluated and properly repaired before flooring goes down.
On wood subfloors, inspect from above and below when possible. Look for water staining around toilets, tubs, exterior doors, and kitchen appliances. Check whether plywood edges are lifting, fasteners have backed out, or the subfloor has swollen. In Florida, hidden moisture around bathrooms and plumbing penetrations is a common reason a floor starts feeling uneven.
If the floor has a noticeable slope across an entire room, it is worth checking the framing and foundation conditions. A gradual slope may be stable, but a new or worsening slope deserves a professional assessment. Cosmetic leveling materials are not a substitute for correcting structural movement.
Repair High Spots First
High spots are usually easier to identify than low spots because they make a straightedge rock. On a concrete slab, a flooring professional may use a diamond grinder to bring down ridges, leftover thinset, or raised patch material. Grinding creates substantial dust, so proper containment and cleanup matter, especially in an occupied home.
On a wood subfloor, a small high area can sometimes be carefully sanded or planed. That work must be controlled. Removing too much material can weaken the panel, expose fasteners, or create a new low spot. Raised plywood seams are often better addressed by securing the panels correctly and replacing damaged sections when necessary.
Do not assume that more leveling compound is the answer to every hump. Filling the rest of the room to match one high point can raise the entire finished floor, create trouble at doors and cabinets, and add unnecessary cost.
Fill Low Spots With the Right Material
Once the surface is clean, stable, and properly primed, low spots can be filled with a patching compound or self-leveling underlayment. These products are not interchangeable, and using the wrong one is a common reason leveling work fails.
A fast-setting floor patch is often the better choice for localized dips, shallow imperfections, feathering transitions, and small repairs. It can be troweled exactly where it is needed, then shaped to meet the surrounding floor. This gives installers more control in rooms with a few isolated low areas.
Self-leveling underlayment is designed for broader areas and larger-scale corrections. Despite its name, it does not magically fix a floor without planning. The substrate must be clean, the correct primer must be applied, openings must be sealed, and the product must be mixed to the manufacturer’s water ratio. Too much water weakens the material. Too little can prevent it from flowing correctly.
Before pouring, protect doorways, floor vents, plumbing openings, and cabinet edges. The material will follow gravity, so every gap needs attention. In a bathroom renovation, the floor height at the doorway, vanity, toilet flange, and shower transition must be planned before leveling begins.
Fix Wood Subfloor Problems at the Source
When unevenness comes from damaged or moving plywood, repair the wood before applying any patch. Replace swollen, delaminated, rotted, or water-damaged sections. Secure loose panels to the joists with appropriate screws, and address squeaks caused by movement between the framing and subfloor.
A floor that deflects under weight may need more than a new panel. Depending on the situation, repairs can involve additional blocking, joist reinforcement, or a properly installed underlayment layer. Tile installations have stricter deflection requirements than many resilient flooring products, which is one reason material selection should happen before the prep plan is finalized.
Never use standard construction lumber, cardboard, roofing felt, or random shims as a shortcut under finished flooring. Those fixes can compress, absorb moisture, or create movement. Professional prep is not glamorous work, but it is what protects the finished floor you are paying for.
Allow for Dry Time, Moisture, and Finished Floor Height
Every patching or leveling material needs time to cure. Some products allow floor covering quickly, while others require longer drying periods. Temperature, humidity, thickness, and slab moisture can all affect the schedule. Rushing the next step can trap moisture or damage the bond between materials.
This is particularly important on concrete slabs. Before installing tile, vinyl, laminate, or wood, moisture conditions should be evaluated using the method required for the flooring system. A smooth slab is not automatically a dry slab.
Finished height also matters. Adding even a quarter-inch of material can affect baseboards, appliances, closet doors, transitions to nearby rooms, and exterior thresholds. A professional installer plans those details early instead of discovering them after the flooring has been installed.
When to Call a Flooring Professional
Small, stable imperfections may be manageable for an experienced homeowner. But it is smart to bring in a flooring specialist when there are cracks, moisture signs, movement, major slopes, soft wood, large-format tile, natural stone, or multiple floor transitions. These are the situations where preparation mistakes become expensive finished-floor repairs.
Seven Golden Floors Inc. handles the difficult part that often gets skipped: demolition, concrete grinding, slab preparation, subfloor repair, leveling, cleanup, and detailed installation. For homeowners in Tampa, St. Petersburg, Clearwater, Brandon, Riverview, Wesley Chapel, and surrounding Tampa Bay communities, a clear evaluation before materials are installed can prevent a beautiful new floor from becoming a repeat project.
A flat, solid surface may never be the part guests notice first, but it is the reason they notice everything else for the right reasons. Start with the floor underneath, and your new tile, vinyl, laminate, hardwood, or stone has the foundation it needs to look sharp and perform for years.
Discover Seven Golden Floors: Tampa Bays Best in Flooring and Remodeling!.
Visit us at The Noble Floors Wholesale – 6131 Anderson Rd, Tampa, FL, 33634, and explore our high-quality flooring and remodeling products. Contact us today and transform your space!
Talk to a salesperson

